Stucco is a reliable and attractive finish for homes in Cave Creek, Arizona. It stands up well to high temperatures and the occasional monsoon, but even this durable surface can develop small holes over time—whether from weathering, pests, or home improvement projects. Left untreated, these small openings can allow moisture to seep in and lead to more extensive damage.
Fortunately, patching small stucco holes is a manageable task when done correctly. This guide covers the tools, materials, and techniques needed to restore your walls and protect your home from the desert elements.
Key Takeaways
Small stucco holes should be patched quickly to prevent water intrusion and wall damage.
Use a stucco-compatible patching compound to ensure proper bonding.
Surface preparation and sealing are key to a clean, long-lasting repair.
For larger cracks or recurring issues, professional repair may be required.
Common Causes of Small Stucco Holes
Nail or screw removals
Impact damage from tools or equipment
Pest activity (such as birds or insects)
Weathering from Cave Creek’s sun and occasional storms
No matter the cause, small holes should not be ignored. Even in dry climates, occasional rain or sprinkler runoff can allow water to seep through, damaging the substrate behind the stucco.
What You’ll Need
Premixed stucco patch or a bag of stucco mix
Trowel or putty knife
Wire brush or utility knife
Sponge and bucket of water
Caulking gun (if sealing hairline cracks)
Matching paint or fog coat (optional for color blending)
Step-by-Step Guide to Patching Small Stucco Holes
1. Clean the Area
Use a wire brush to remove loose material and dust around the hole. You want a clean surface for the patch to adhere to. Rinse lightly with water and let it dry.
2. Undercut the Edges (If Needed)
For holes larger than a thumbtack, gently carve a slight undercut using a utility knife. This helps the patch material grip the stucco and prevents it from popping out over time.
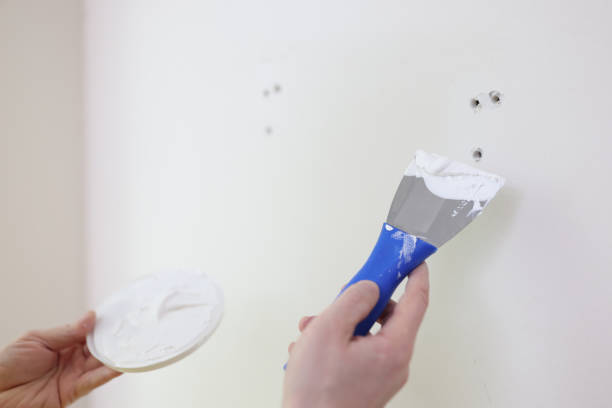
3. Apply the Stucco Patch
Using a trowel or putty knife, press the patching compound firmly into the hole. Smooth the surface so it blends with the existing texture. Some premixed patches dry quickly, so work efficiently.
4. Feather the Edges
Blend the patch outward from the hole to reduce noticeable ridges. If the stucco has a textured finish, mimic that pattern using a sponge or trowel tip before the material sets.
5. Let It Cure and Paint (Optional)
Allow the patch to dry completely—typically 24–48 hours. If needed, paint the area or apply a matching fog coat to blend it seamlessly with the rest of your wall. This is especially helpful after a larger stucco repair project where color consistency matters.
When to Call in the Pros
While small holes are a good DIY task, multiple areas of damage or signs of moisture behind the stucco should be assessed professionally. Our team at Stucco Contractors Arizona can identify hidden issues that may not be visible from the surface and provide lasting repairs for homes across Cave Creek.
If you’re dealing with cracking, crumbling, or color fading across large sections, or if your home was built decades ago and may not have weep screeds or drainage barriers, it’s worth having an expert take a look. We also service nearby communities, including Glendale, with region-specific experience and insight.
Keep Your Cave Creek Stucco Looking Its Best
Patching small stucco holes quickly can save you from larger problems down the road. With the right tools and a careful hand, most minor damage can be repaired in an afternoon—restoring your wall’s appearance and strength.
Have more than a few holes or need expert help matching texture and color? Contact Stucco Contractors Arizona today to get your home looking flawless and weather-ready once again.